Showing posts with label glitter. Show all posts

Tuesday, October 23, 2018

Good enough to eat?

There has been one Halloween craft I wanted to be sure and make during this season. It was a craft I'd seen a few photos of online: a donut pumpkin!
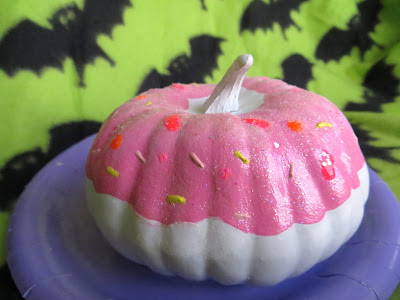

Some of you might know that I've been looking all season for the perfect, donut-shaped pumpkin so I could make this creation. This is easier said than done. There are a lot of different pumpkin shapes out there, and for the most part those shapes are not like that of a donut.

After much searching, I was very lucky to find a little pumpkin at Dollar Tree! I was extra lucky because I think it was accidentally packed in with a shipment of totally different pumpkins. I peeked into an unpacked cardboard box that the Dollar Tree employees hadn't gotten to yet. Inside were plenty of yellow and orange pumpkins with flowers coming out of the top. Floating around with all of them was this little guy:


Looking at the image on the side of the cardboard box, I could see that no green pumpkins were included in this shipment. And I never saw another one through the entire store! So, lucky me!

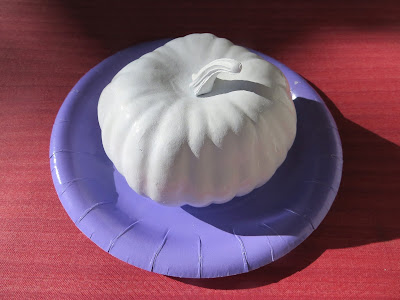
My first step was to spray paint the pumpkin white. It looked almost like stone or ceramic at that point.

Next, I painted more or less the top half of the pumpkin pink.


Then I coated the pink part with this clear, glittery paint called "Disco Crystal". I thought it gave the pink "frosting" a subtle, glazed look. You can see what the paint looks like here: FolkArt Disco Crystal You can get it cheaper than this with a Michaels coupon, etc. I've used this paint on so many projects! It's great for sticking loose glitter on crafts too.


Which is just what I did! Now things were starting to look yummy.


But I wasn't done yet! Time for sprinkles! The "sprinkles" are actually little lines of puffy paint. Yes, I still have puffy paint like you'd use on clothing back in the day. It stayed good since the early 90s!


Mmm... I know better than anyone that this is plastic, paint, and glitter, but I'm still wanting to eat this donut! Never mind that it also has a stem.


With any luck, I'll find some more donut-shaped pumpkins so I can make a few more of these. I'll have an eye out for more during my After Halloween Hauling!


Monday, March 30, 2015

Sugar Skulls, CD Shards, and Super Bargains!

This past month I've been busy crafting and learning new things. There's been a lot of experimentation with craft materials and new products. This is going to be kind of a different blog post than usual, because I'm going to be sharing a few things I made and a few things I bought. It's a little like one of those monthly favorites blog posts or videos some people make. Just random fun stuff I made and bought during March.


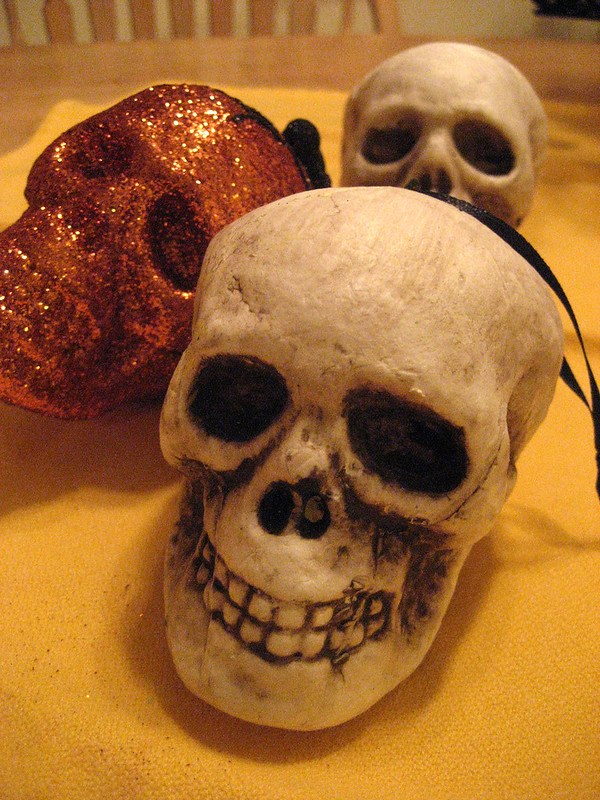
I finally got around to decorating the little foam skulls I bought during my My After Halloween Target and Michaels Haul in 2012! These two foam skulls were from Michaels. Looking back at that blog post, it would appear these cost 20 or 30 cents.

IMG_0051

The little skulls can hang from the ribbon at the top of them. Here's one demonstrating this on a doorknob:


I decided to make them into sugar skulls for Day of the Dead. I painted them, bejeweled them, and then "sugared" them with some heavyweight glitter.


I'm really happy with how these two turned out! They're like little girly sister skulls. I like decorations that look related but not identical.

It will be nice to have some little sugar skulls sitting around. I'll probably keep them out year-round. They're about the size of an actual sugar skull and they won't attract ants, unlike the real deal. Grossly enough, I know of what I speak with that!

I also learned of a cool use for old CDs. I happened to have a few with some documents on them that I didn't feel safe throwing out. Yet I didn't need more old CDs sitting around. So I saw online that if you bust up old CDs with a hammer you end up with some beautiful shards. Some people use scissors too, but that didn't work for me. I don't know what kind of scissors these people have, but mine weren't going to cut a CD! That only worked for trimming the tiniest of edges.


So after having some fun whacking CDs with a hammer, I needed to find something cool to glue them to. As it happened, I ran into a candle holder at Dollar Tree that was just what I wanted. It had a religious quote on the back but if you turn it around you have a nice black surface to work with. So I glued my shards to that with some regular Elmer's glue and let it dry an hour or two. Then I put a candle in it and enjoyed watching the colors move around in the dark.


I was so happy with my results that I'm looking for more things to glue CD shards to! Just a few words of caution if you want to try this.

1. Wear some protective eye wear. The shards like to fly while you're hammering them. One got me in the face, but luckily I wasn't cut.

2. Wrap some paper towel around your CD before hammering. You don't want random little sharp things laying around uncollected. Some people use a kitchen towel, but paper towel worked fine for me.

3. Pick where you want to glue these wisely because they like to slide around. Just put some glue on the back of your shard, place it down, and call it good.

Other than these two crafts, I wanted to share two more random things with you guys. Not that either of these are related to anything. It's just that I wanted to pass along some good finds. They're pretty inexpensive too.

Sticking with the Dollar Tree theme, I'd heard some reviews of this Dermasil lotion on YouTube. I have bored moments where I watch videos of people talking about their Dollar Tree hauls on YouTube. This is where I heard people raving about how great this lotion is, and they're right!


I was looking for a nearly scentless lotion because I wanted to mellow out some way too fragranced lotion I already had. So I picked some of this up. 10 oz for $1.00! I mixed it in with the too strong stuff and it worked to make it tolerable. Turns out I love this stuff on its own too. So I went back and bought more of it. It has a very light rosewater scent, if you're familiar with that. It has a nice consistency too; this lotion is not at all watery. I like this much more than a lot of higher priced lotions. And what isn't higher priced?

My other fun find is this "Sambal Oelek" pepper sauce. Look for the rooster label. It's a simple recipe of fiery red chilis, vinegar, and salt. It's hot and soooo good. You will want to put this on everything. This cost $1.99 at Woodman's.


Let me know if you guys try any of these craft projects or products!

Sunday, October 21, 2012

My Halloween Crafts from Dollar Tree Finds

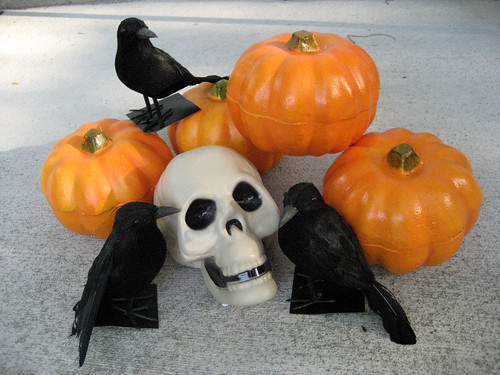
Has anyone else been having an incredibly busy autumn this year? I've been doing a lot of Halloween related activities so it's been a fun kind of busy. One of these activities was doing Halloween crafts. I started at Dollar Tree with these raw materials in September and plans to upgrade them a bit.

IMG_8525

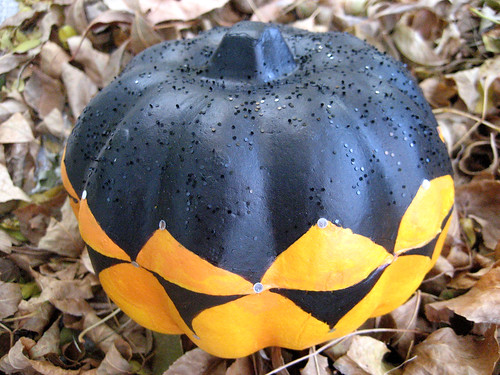
I tried a few different looks with the pumpkins. I started my first project by making a zig zag pattern with painter's tape. I had planned to do a chevron pumpkin like this after seeing some how-to projects in a magazine. The process ended up involving a lot of tedious taping, so I just did it once, and went black and glittery with the top. Then I added a few triangles and shimmery bits. Now it's kind of a harlequin pumpkin.

IMG_9354

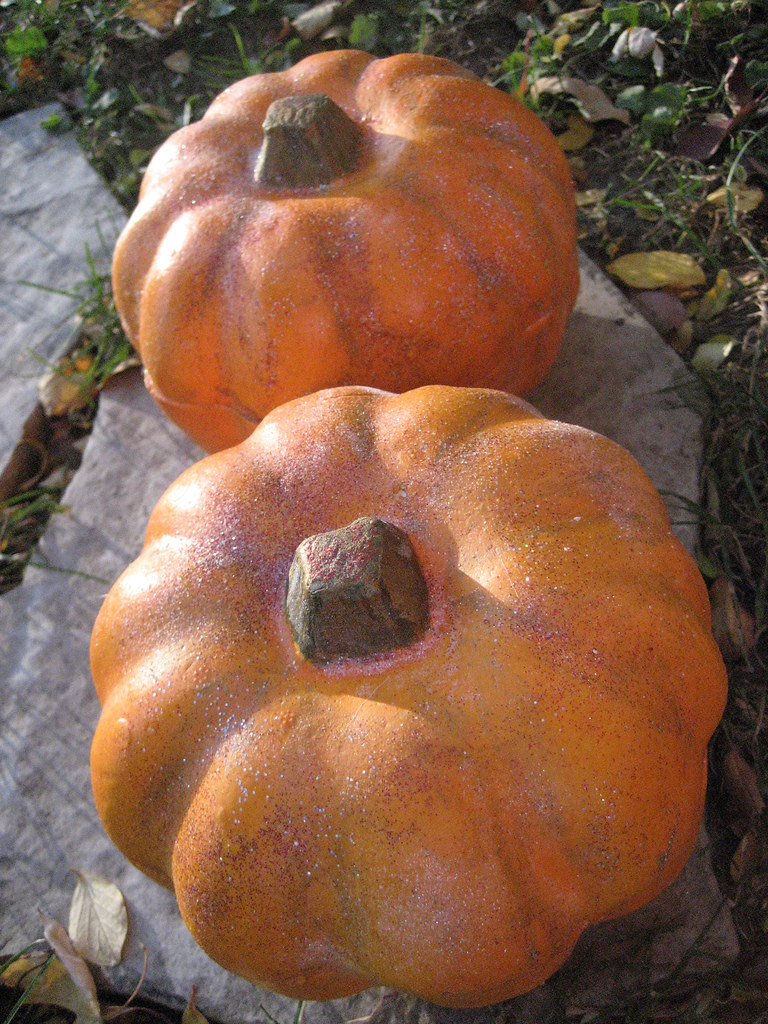
I just glittered the next two, although they don't look much like that now. I ended up reworking the stems, so there would be something more substantial there.

IMG_9346

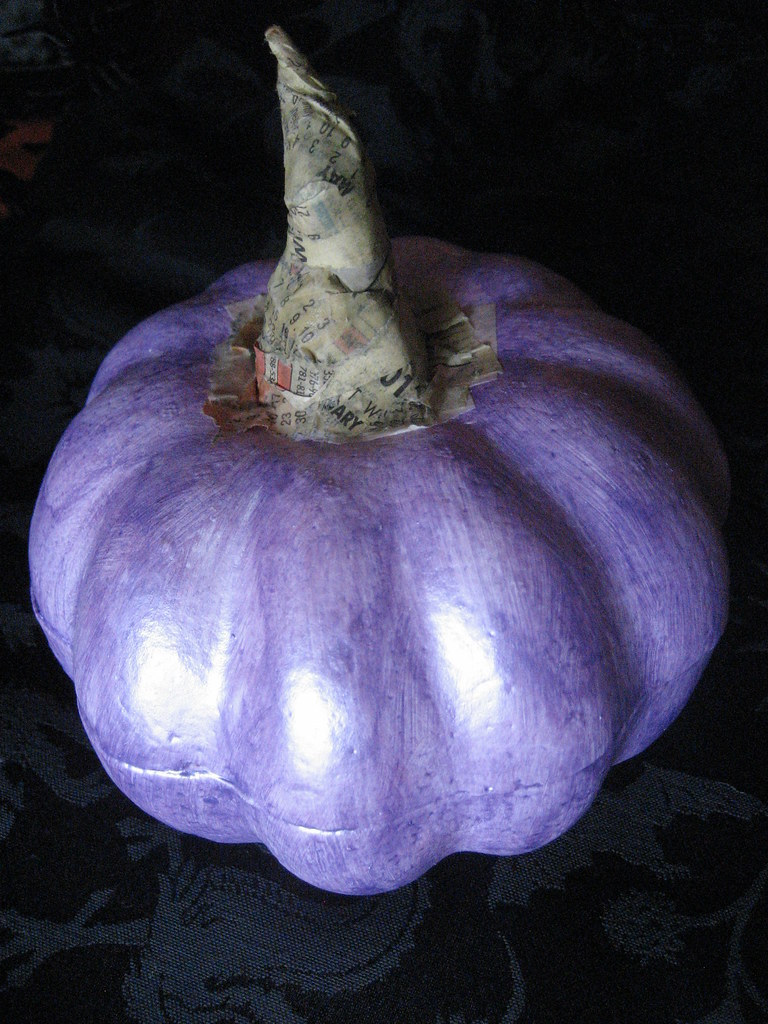
Here's one of the reworked stems in process on the purple pumpkin I made for a friend. Basically, you build up a stem out of tin foil and shape it. Then you take a mix of Elmer's glue and water to apply newspaper to the tin foil. I ended up using phone book pages instead of newspaper, because they are made from thinner paper. It was nice to have a use for the phone book that just arrived!

IMG_9410

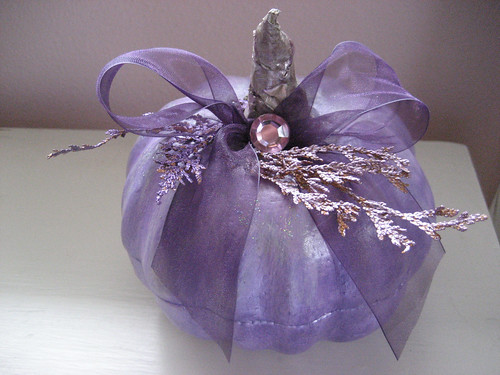
Here's the finished fancy pumpkin! I painted over that phone book stem with some shimmery paint. The pumpkin was painted with pearly purple craft paint and then glittered. I used shimmery nail polish on some dried cedar and glued that to the pumpkin. Then I glued on a bow and a rhinestone and I was done!

IMG_9447

This next project was tedious, but I am so happy with the result!

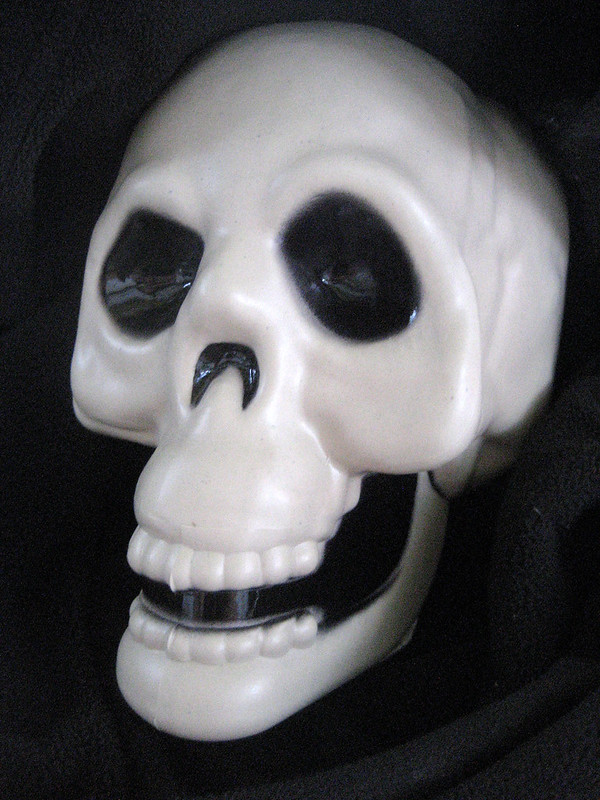
Before:

skull before

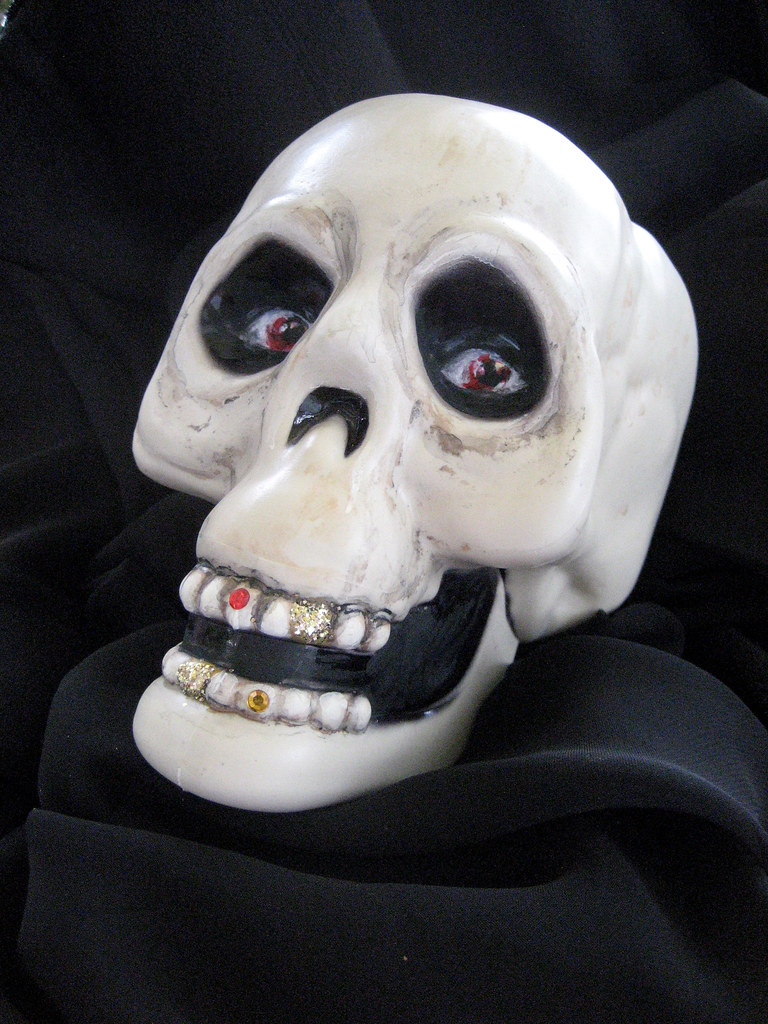
After:

IMG_9052

Here he is with a bandana, since he's a pirate skull.

IMG_9030

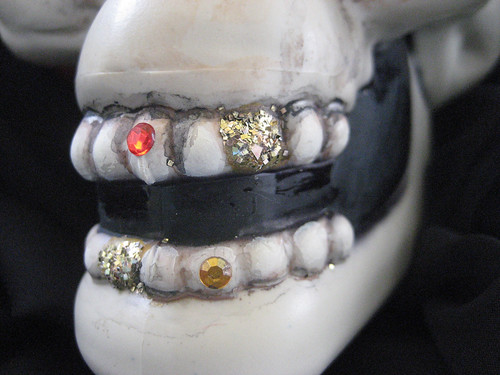
A close up of his gold and bejeweled teeth:

IMG_9028

I ended up freehand painting some eyes inside his hollowed out eye sockets, which was more difficult than expected. He's just as lifelike as I need him to be! I plan to put him in the center of the bowl of candy I hand out to trick-or-treaters. He'll go nicely with my pirate outfit for that day!

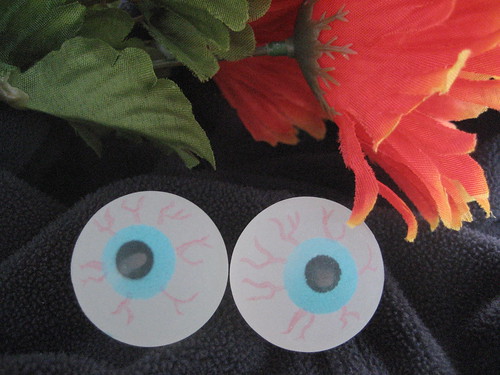
The next project was a lot of fun. I started with some silk flowers (also from Dollar Tree) and some fake eyeballs from American Science and Surplus.

IMG_8696

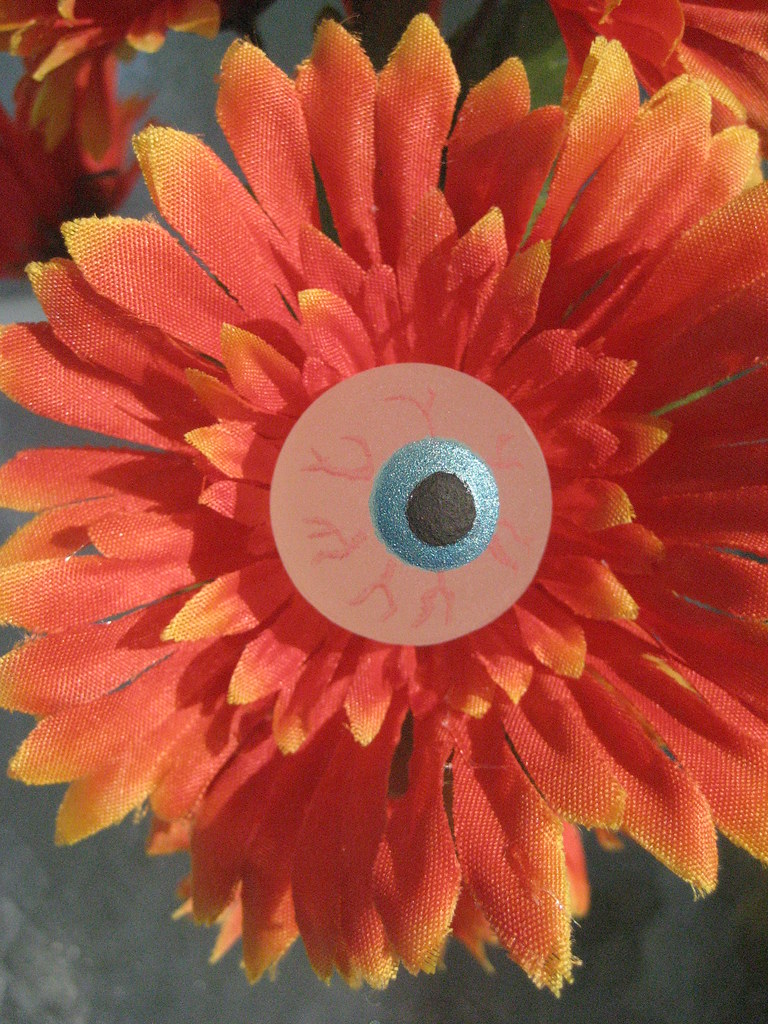
I intensified the eye color with some paint and blue nail polish. Then I removed the flower's center and hot glued the eyeball in its place.

IMG_8722

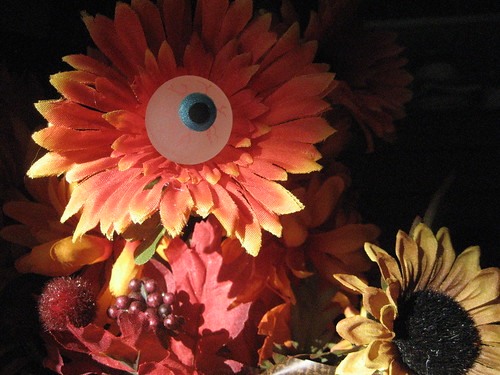
Here's one in an arrangement:

IMG_9381

I really like the light in that photo. It was a happy accident, but it almost looks like an oil painting to me.

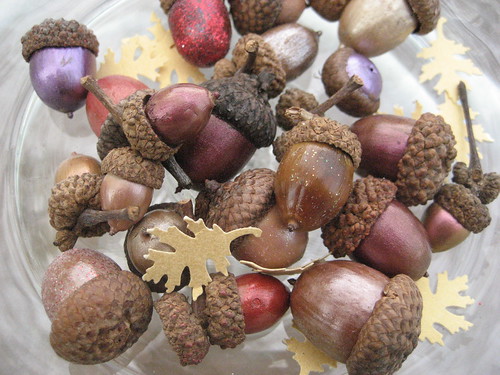
The last project was done with acorns and a little nail polish. If you're like me and have a lot of nail polish sitting around already, this is pretty simple. Shimmery craft paint and glitter works fine too.

IMG_9437

Aren't those shimmery little leaves cute? Heidi from http://2ndstreetcemetary.blogspot.com/ was nice enough to include those with the CD she traded me. I'm planning to Mod Podge a few of those leaves onto some plain acorns.

Just one thing I should add - wait a few days after collecting your acorns to paint them. You know those little holes you sometimes see in acorns? Well, that's where insect larvae have crawled out after hatching. I learned this lesson after having one of them crawl out of an acorn I had painted. He went straight out of layers of paint and was crawling around on my paint palette! They take a few days to hatch, so just be patient a bit before painting.

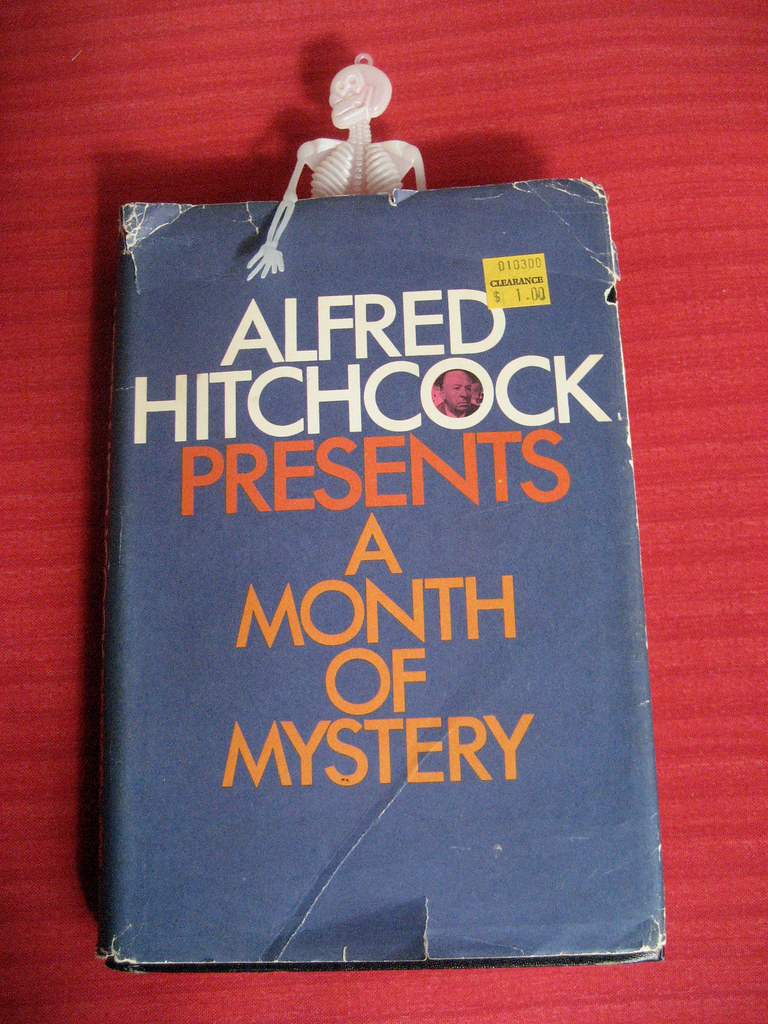
Aside from making Halloween crafts, I've also been busy reading this book:

Alfred Hitchcock Presents A Month of Mystery

I found this collection of stories lying under some other books of mine. Judging by the sticker on the cover, I paid a dollar for it. Or maybe someone else did a long time ago and left the price sticker on. In any event, it's worth that and more because it's a really enjoyable book! The idea behind it is that there are 31 stories, so you could read one every day of a month. The book is split into four sections: a week of crime, a week of suspense, a week of detection, and a week of the macabre.

IMG_9383

If you're like me, you'll skip around where you please, starting with the macabre. If you have an orderly brain that likes to go from start to finish, I think this book would be a fun exercise for you! A Month of Mystery was published in 1969, but some of the stories go back to the 1930s. Most of what I've read was noticeably from the 50s and 60s from the slang. The word "fink" was a dead giveaway! So you'll laugh or be confused by the slang, and maybe a little spooked by the stories. Plus it would appear that it's pretty inexpensive online too.

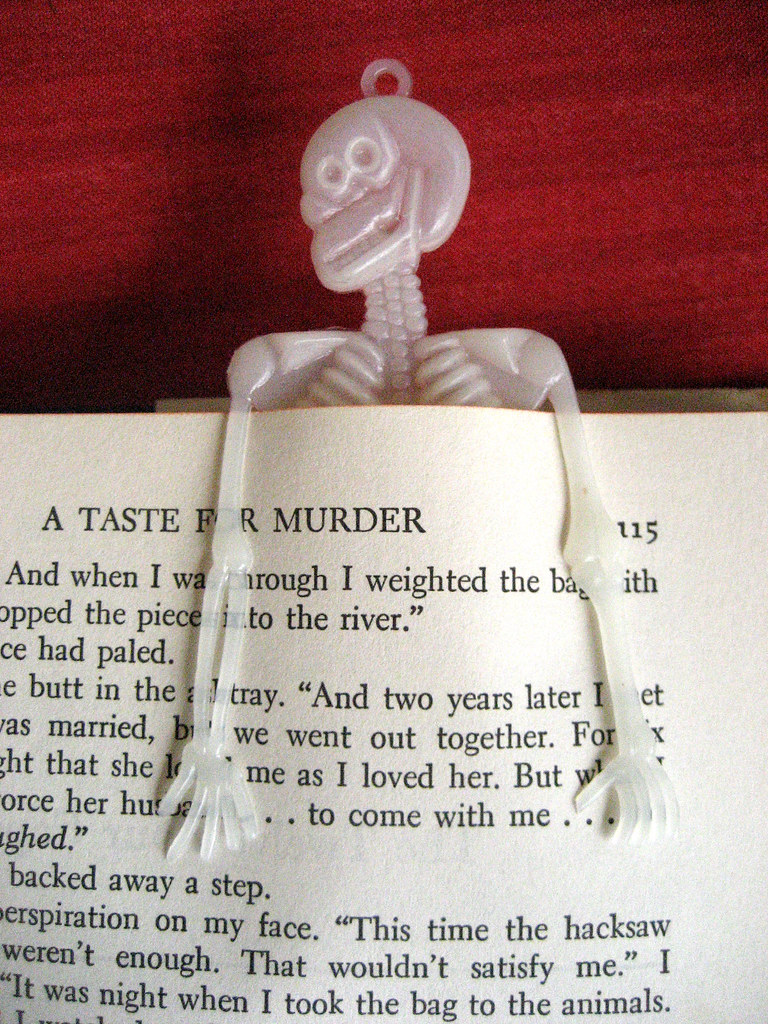
As for the bookmark, I am using something very fitting:

IMG_9389

The skeleton was another goodie that arrived with a CD. This and a few other creepy crawlies were from Dex at http://aeiouwhy.blogspot.com/ I cut the skeleton's arms loose, and he hangs over the pages nicely.

One more thing that's kept me busy was preparing for the annual Witches' Gathering. That party was last night, so photos will be coming soon!

*Speaking of parties, just another reminder that my Halloween blog party is on Friday, October 26! So get those pictures to me. :)